Manual.ly Logo

Chicco Baby Hug 4 in 1 Mode-D-Emploi

0,0 · 0 Notes

Manuel PDF · 112 Pages

Français

M: GO-GEM-FL-25
page

/ 112

Loading...
c2b283e0701ef547d8f033ee65ada21c6ffd page 10
16
17
CLEANING
Clean the plastic parts with a soft damp cloth. Never use
abrasive detergents or solvents. If the highchair comes
into contact with water, dry the metal parts to prevent
the formation of rust.
MAINTENANCE
• This product requires periodical maintenance.
• Cleaning and maintenance operations must only be
carried out by an adult.
• Periodically check the product for broken, damaged or
missing parts: do not use it in this case.
• To avoid friction that may compromise the correct
functioning of the product, ensure that all the moving
plastic parts located along the metal frame are free of
dust, dirt and sand.
• If necessary, lubricate the moving parts with dry sili-
cone lubricant.
• Store the product in a dry place.
COMPONENTS
The product is completely disassembled when pur-
chased; check that all of the components listed below
are present. If any part is missing contact ARTSANA’s
CUSTOMER SERVICES.
The product and all of its components must always be
assembled by an adult.
A - Height adjustable pedestal frame
A1 - 4 wheels with brakes
B - Seat frame
C - Seat structure
D - Tubular seat frame
E - Fabric (with shoulder straps)
F - Booster cushion
G - Toybar
G1 - Light / sound game buttons
G2 - 3 soft toys
I - Upper fabric zips
L - Plastic clips
M - Height adjustment pedal
N - Backrest recline lever
ASSEMBLY
The product is not assembled when purchased. To use
it, carry out the following assembly operations:
1. The rst thing to do is assemble the “A1” wheels on
height adjustable base frame “A”. To do this place the
frame on a rug or soft surface so as not to damage the
oor or frame. Assemble the 4 “A1” wheels inserting
the pins in the 4 holes under height adjustable base
frame “A” as shown in gure 1.
WARNING: Fully insert the wheel pin into the hole in
the base. At this point the base can be rested on the
oor.
2. Insert the fasteners of seat frame “B” into the respec-
tive tubes on seat structure “C” until they click into
place (Fig. 2).
3. Assemble the seat (seat frame “B” + seat structure
“C”) on the base: insert the two tubes on base “A”
into the corresponding holes on seat frame “B” until
they click into place (Fig. 3).
WARNING: The backrest must face the height adjust-
ment pedal (I) as shown in Fig. 3a.
4. Insert tube “D” into the corresponding holes on seat
frame “B” until they click into place (Fig. 4).
5. To assemble fabric “E” line up the holes on the fabric
with the restraint system installed on seat structure
“C”. Pass the two lateral arms of seat frame “B” through
the side fabric holes (FIG. 5), insert the pins of the
arms into the holes on either side of the backrest (FIG.
5a) until they click into place.
WARNING: Check that both arms are assembled cor-
rectly.
6. Attach fabric “E” using the two perimeter zips above
seat frame “B” (Fig. 6).
7. Pass the crotch strap and waist straps on seat struc-
ture “C” through the holes of fabric “E” (Fig. 7-7a-7b-
7c).
8. Attach the fabric (E) to the bottom of seat structure
“C”, making sure to insert all of the plastic clips in the
right slots (Fig. 8-8a).
BOOSTER CUSHION
9. Reducer cushion “F” is ideal from birth and can be
used or removed as necessary. To attach it to the
seat, place it on the fabric, pass the crotch strap and
waste straps through the holes in booster cushion “F”
(reclined cradle mode), (Fig. 9). In highchair mode it
is also necessary to pass the shoulder straps through
the holes of the booster cushion (Fig. 9a).
TOYBAR
10. The toys can be attached to the toybar by passing the
straps through the plastic openings on the bar (Fig.
10) and fastening the velcro.
11. Assemble the toybar (with the light positioned to-
wards backrest recline lever “N”) inserting the pins of
the bar into the holes on seat frame “B” until it clicks
into place (Fig. 11).
12. To incline the toybar in the three possible positions
press the side buttons (Fig. 12).
13. To remove the toybar press the buttons on the inside
of the bar support and pull upwards (Fig. 13).
WARNING: Always check that the toybar is properly
fastened before using it.
WARNING: To prevent possible injury by entaglement,
remove this toy when the child starts trying to get up
on its hands and knees in a crowling position.
HEIGHT ADJUSTMENT
14. Once assembled, the product can be adjusted to
various heights in all congurations. To adjust its
height, hold down height adjustment pedal “M” (Fig.
14) and lift or lower the seat to the desired height.
ADJUSTING THE BACKREST
15. The backrest can be adjusted to four dierent posi-
tions. To do this, push down on backrest recline lever
“N” (Fig. 15).
Position 1 – Crib mode (Fig. 15a)
Position 2-3 – Reclined cradle mode (Fig. 15b)
Position 4 – Highchair and rst chair at the table mode
(Fig. 15c)
These adjustments can also be made with your child
seated in the product. In this case it will be slightly more
dicult.
WARNING: Always check that the backrest is properly
locked before use.
USING THE SAFETY HARNESS
16. With fabric “E” assembled on seat structure “B”, there
will be a crotch strap, two waist straps and two
shoulder straps (Fig. 16).
17. CRIB MODE - WARNING: Completely remove all
safety harnesses making sure to keep them out of
the reach of your child (Fig. 17).
18. RECLINED CRADLE MODE - WARNING: A 3-point
restraint system must be used: crotch strap + waist
straps (Fig. 18).
19. After placing your child in the seat, reclined cradle
mode, fasten the straps by passing the two prongs
through the crotch strap buckle; adjust the waist
straps so that they t closely around your child’s
waist (Fig. 19).
20. HIGHCHAIR AND FIRST SEAT AT THE TABLE
MODE - WARNING: A 5-point restraint system
must be used: crotch strap + waist straps + shoulder
straps (Fig. 20).
WARNING: In this conguration the toybar must al-
ways be positioned behind the backrest.
21. After placing your child in the seat in highchair
mode, fasten the straps by passing the two prongs
through the shoulder strap buckle (Fig. 21) and then
through the crotch strap buckle (Fig. 21a); Adjust the
height of the shoulder straps so that they correctly
t your child’s shoulders.
Always make sure that the straps are fastened correctly.
To unfasten the strap, press and pull the side prongs.
WARNING: When using the product, always fasten the
straps by inserting them in the crotch strap and check
that they are tight enough and properly fastened.
22. The safety harness straps can be removed (for washing
or for use in the crib/reclined cradle conguration).
To remove the harnesses pull the waist and crotch straps
out from the holes in the fabric (Fig. 22-22a-22b) until
they are hidden on the seat frame and pull the shoulder
straps out from the fabric holes on the backrest (Fig. 22c
-22d). After removing the safety harnesses, make sure
that the harnesses are correctly re-assembled.
To re-assemble the safety harnesses, carefully follow the
steps below:
23. Follow point 7 of the ASSEMBLY paragraph to re-
assemble the waist straps and crotch strap. For the
shoulder straps, pass the strap through the hole as
shown in Fig. 23, making sure that the length adjust-
er is positioned as shown in the gure.
Take the plastic hole of the shoulder straps and pass it
through the fabric ring of the harness (Fig. 23a).
Having performed this operation correctly, pull the har-

Discutez avec votre manuel Chicco Baby Hug 4 in 1 grâce à l'IA

Obtenez des réponses instantanées par IA à partir de votre manuel Chicco Baby Hug 4 in 1

Posez toutes vos questions concernant le Chicco Baby Hug 4 in 1. Les réponses proviennent de ce manuel, avec les pages dont elles sont tirées.

Baby Hug 4 in 1 Programme d'entretien

Après chaque lavage
Vérifier le tissu et les coutures

Vérifier la résistance du tissu et des coutures après chaque lavage pour assurer la sécurité.

Périodiquement
Inspecter les dommages

Vérifier régulièrement le produit pour détecter les pièces cassées, endommagées ou manquantes et ne pas l'utiliser si elles sont trouvées.

Périodiquement
Nettoyer les pièces plastiques mobiles

Enlever la poussière, la saleté et le sable des pièces plastiques glissant sur les tubes métalliques pour éviter les frottements.

Si nécessaire
Lubrifier les pièces mobiles

Appliquer un lubrifiant silicone sec sur les pièces mobiles si nécessaire pour assurer un fonctionnement correct.

M: QW-35-FL

Poser une Question

0/1000

Recommandez-vous Baby Hug 4 in 1?

Oui Non

Foire aux Questions

A

Il peut être utilisé dès la naissance en mode berceau et couffin inclinable jusqu'à 9 kg, puis à partir d'environ 6 mois en mode chaise haute et première chaise jusqu'à 36 mois et 15 kg.

Cette réponse est-elle utile?

A

Non. Le couffin inclinable n'est pas նախատեսu pour un sommeil prolongé. Si l'enfant doit dormir plus longtemps, il faut utiliser un vrai berceau ou un lit adapté.

Cette réponse est-elle utile?

A

Oui. L'arche de jeux peut être installée ou retirée selon les besoins. En mode chaise haute, elle doit toujours rester positionnée derrière le dossier pour des raisons de sécurité.

Cette réponse est-elle utile?

A

Le tissu doit être lavé uniquement à la main à l'eau froide. Ne pas utiliser de javel, de sèche-linge, de fer à repasser ni de nettoyage à sec. Vérifiez les coutures et l'état du tissu après lavage.

Cette réponse est-elle utile?

A

Oui. Les quatre roues doivent être bloquées chaque fois que le produit est utilisé afin de l'aider à rester stable et de réduire le risque de déplacement ou de basculement.

Cette réponse est-elle utile?

A

Vérifiez que toutes les pièces sont correctement assemblées, que les mécanismes de verrouillage sont engagés, que le harnais est bien ajusté et qu'aucun composant n'est cassé, déchiré ou manquant.

Cette réponse est-elle utile?

M: GO-GEM-FL-25

Avantages et Inconvénients

Avantages

  • La conception 4 en 1 accompagne l'enfant de la naissance à 36 mois.
  • La hauteur réglable et le dossier inclinable s'adaptent à différentes routines quotidiennes.
  • L'arche de jeux amovible avec lumières et sons apporte du divertissement aux premiers stades.
  • Les parties en tissu lavables et amovibles ainsi que le harnais simplifient le nettoyage et l'entretien.
VS

Inconvénients

  • Les changements de mode exigent un assemblage attentif par un adulte et des contrôles de sécurité réguliers.
  • Le produit doit toujours être utilisé avec le système de retenue approprié.
  • Les modes berceau et couffin inclinable sont limités à une tranche d'âge relativement courte.
  • Les piles et les pièces mobiles de l'arche de jeux nécessitent un entretien et une attention périodiques.
M: GO-GEM-FL-25

Produit Spécification

Poids

10,20 kg

Dimensions (LxHxP)

850x880-1220x600 mm

Fonctionnalités

réglable en hauteur, convertible en chaise haute, fonction mélodie

M: GO-GEM-FL-25

Description du Produit

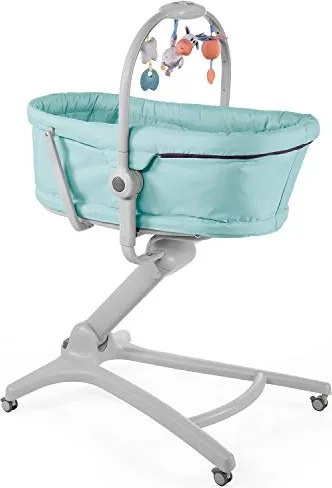
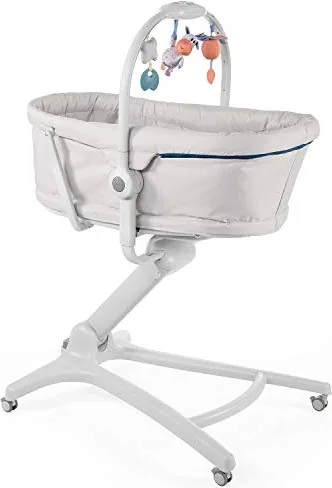
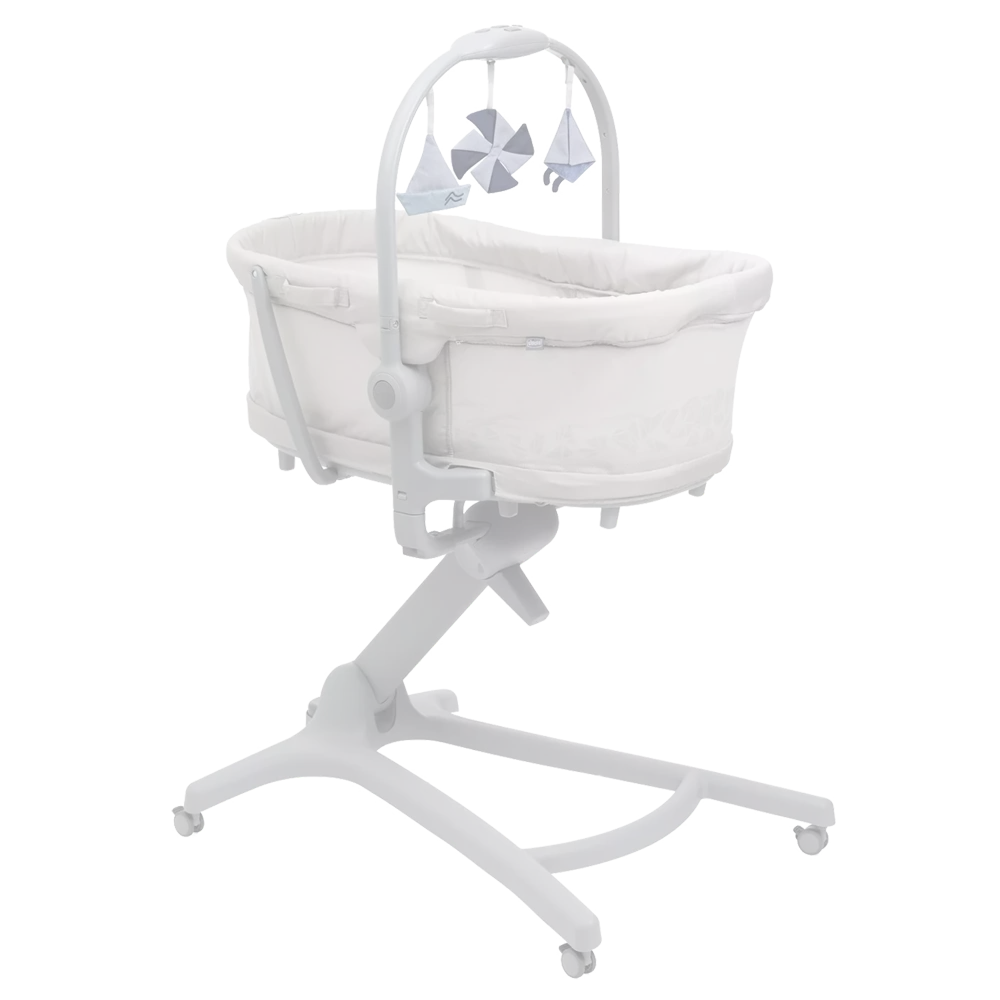
Couffin Chicco Baby Hug 4 en 1 : un siège malin pour les trois premières années

Le couffin Chicco Baby Hug 4 en 1 se distingue comme un compagnon de chambre d'enfant polyvalent qui accompagne l'enfant à travers plusieurs étapes précoces avec une facilité surprenante. Des premiers jours à la maison jusqu'aux années de tout-petit, il peut servir de berceau, de couffin inclinable, de chaise haute et de première chaise à table. Cette flexibilité le rend attrayant pour les parents qui apprécient les solutions compactes sans sacrifier le confort ni la praticité.

En mode berceau, il offre un espace de repos douillet pour les nouveau-nés jusqu'à 9 kg, tandis que le réglage en couffin inclinable procure aux familles un emplacement confortable pour des moments de détente sous surveillance durant les premiers mois. Plus tard, lorsque l'enfant peut s'asseoir seul, le produit se transforme en chaise haute et en première chaise adaptée aux repas et aux moments du quotidien en famille jusqu'à 36 mois et 15 kg. Le résultat est un seul équipement pour bébé qui s'adapte aux routines changeantes au lieu de rester inutilisé après quelques mois.

Le design mise aussi sur la praticité. Un système de hauteur réglable permet d'adapter l'assise à différents meubles, et le dossier peut s'incliner dans plusieurs positions selon l'usage prévu. Une arche de jeux amovible avec lumières, sons et peluches ajoute une touche ludique, surtout aux premiers stades. Pour de nombreux parents, le manuel du Chicco Baby Hug 4 in 1 Bassinet devient utile à ce moment-là, car il explique comment passer d'un mode à l'autre en toute sécurité et profiter au mieux de chaque configuration.

Un autre atout est l'entretien quotidien. Les parties textiles amovibles, les harnais de sécurité et les surfaces faciles à nettoyer rendent son usage plus simple pour les foyers occupés. Le produit est également conçu avec un fort accent sur la stabilité et la surveillance, rappelant aux adultes de bloquer les roues, de vérifier les points de verrouillage et d'utiliser le système de retenue approprié pour chaque mode. Ces détails comptent, car un produit multifonction doit être aussi sûr que pratique.

Notes

  • Convient particulièrement aux parents qui recherchent une solution durable et peu encombrante.
  • Suivez toujours attentivement les étapes d'installation avant chaque changement de mode.
  • Une inspection régulière et un nettoyage approprié aident à préserver les performances et l'apparence.
  • L'arche de jeux est amusante pour les bébés plus jeunes, mais doit être retirée lorsque l'enfant devient plus mobile.
M: GO-GEM-FL-25

© Copyright 2026 Manual.ly